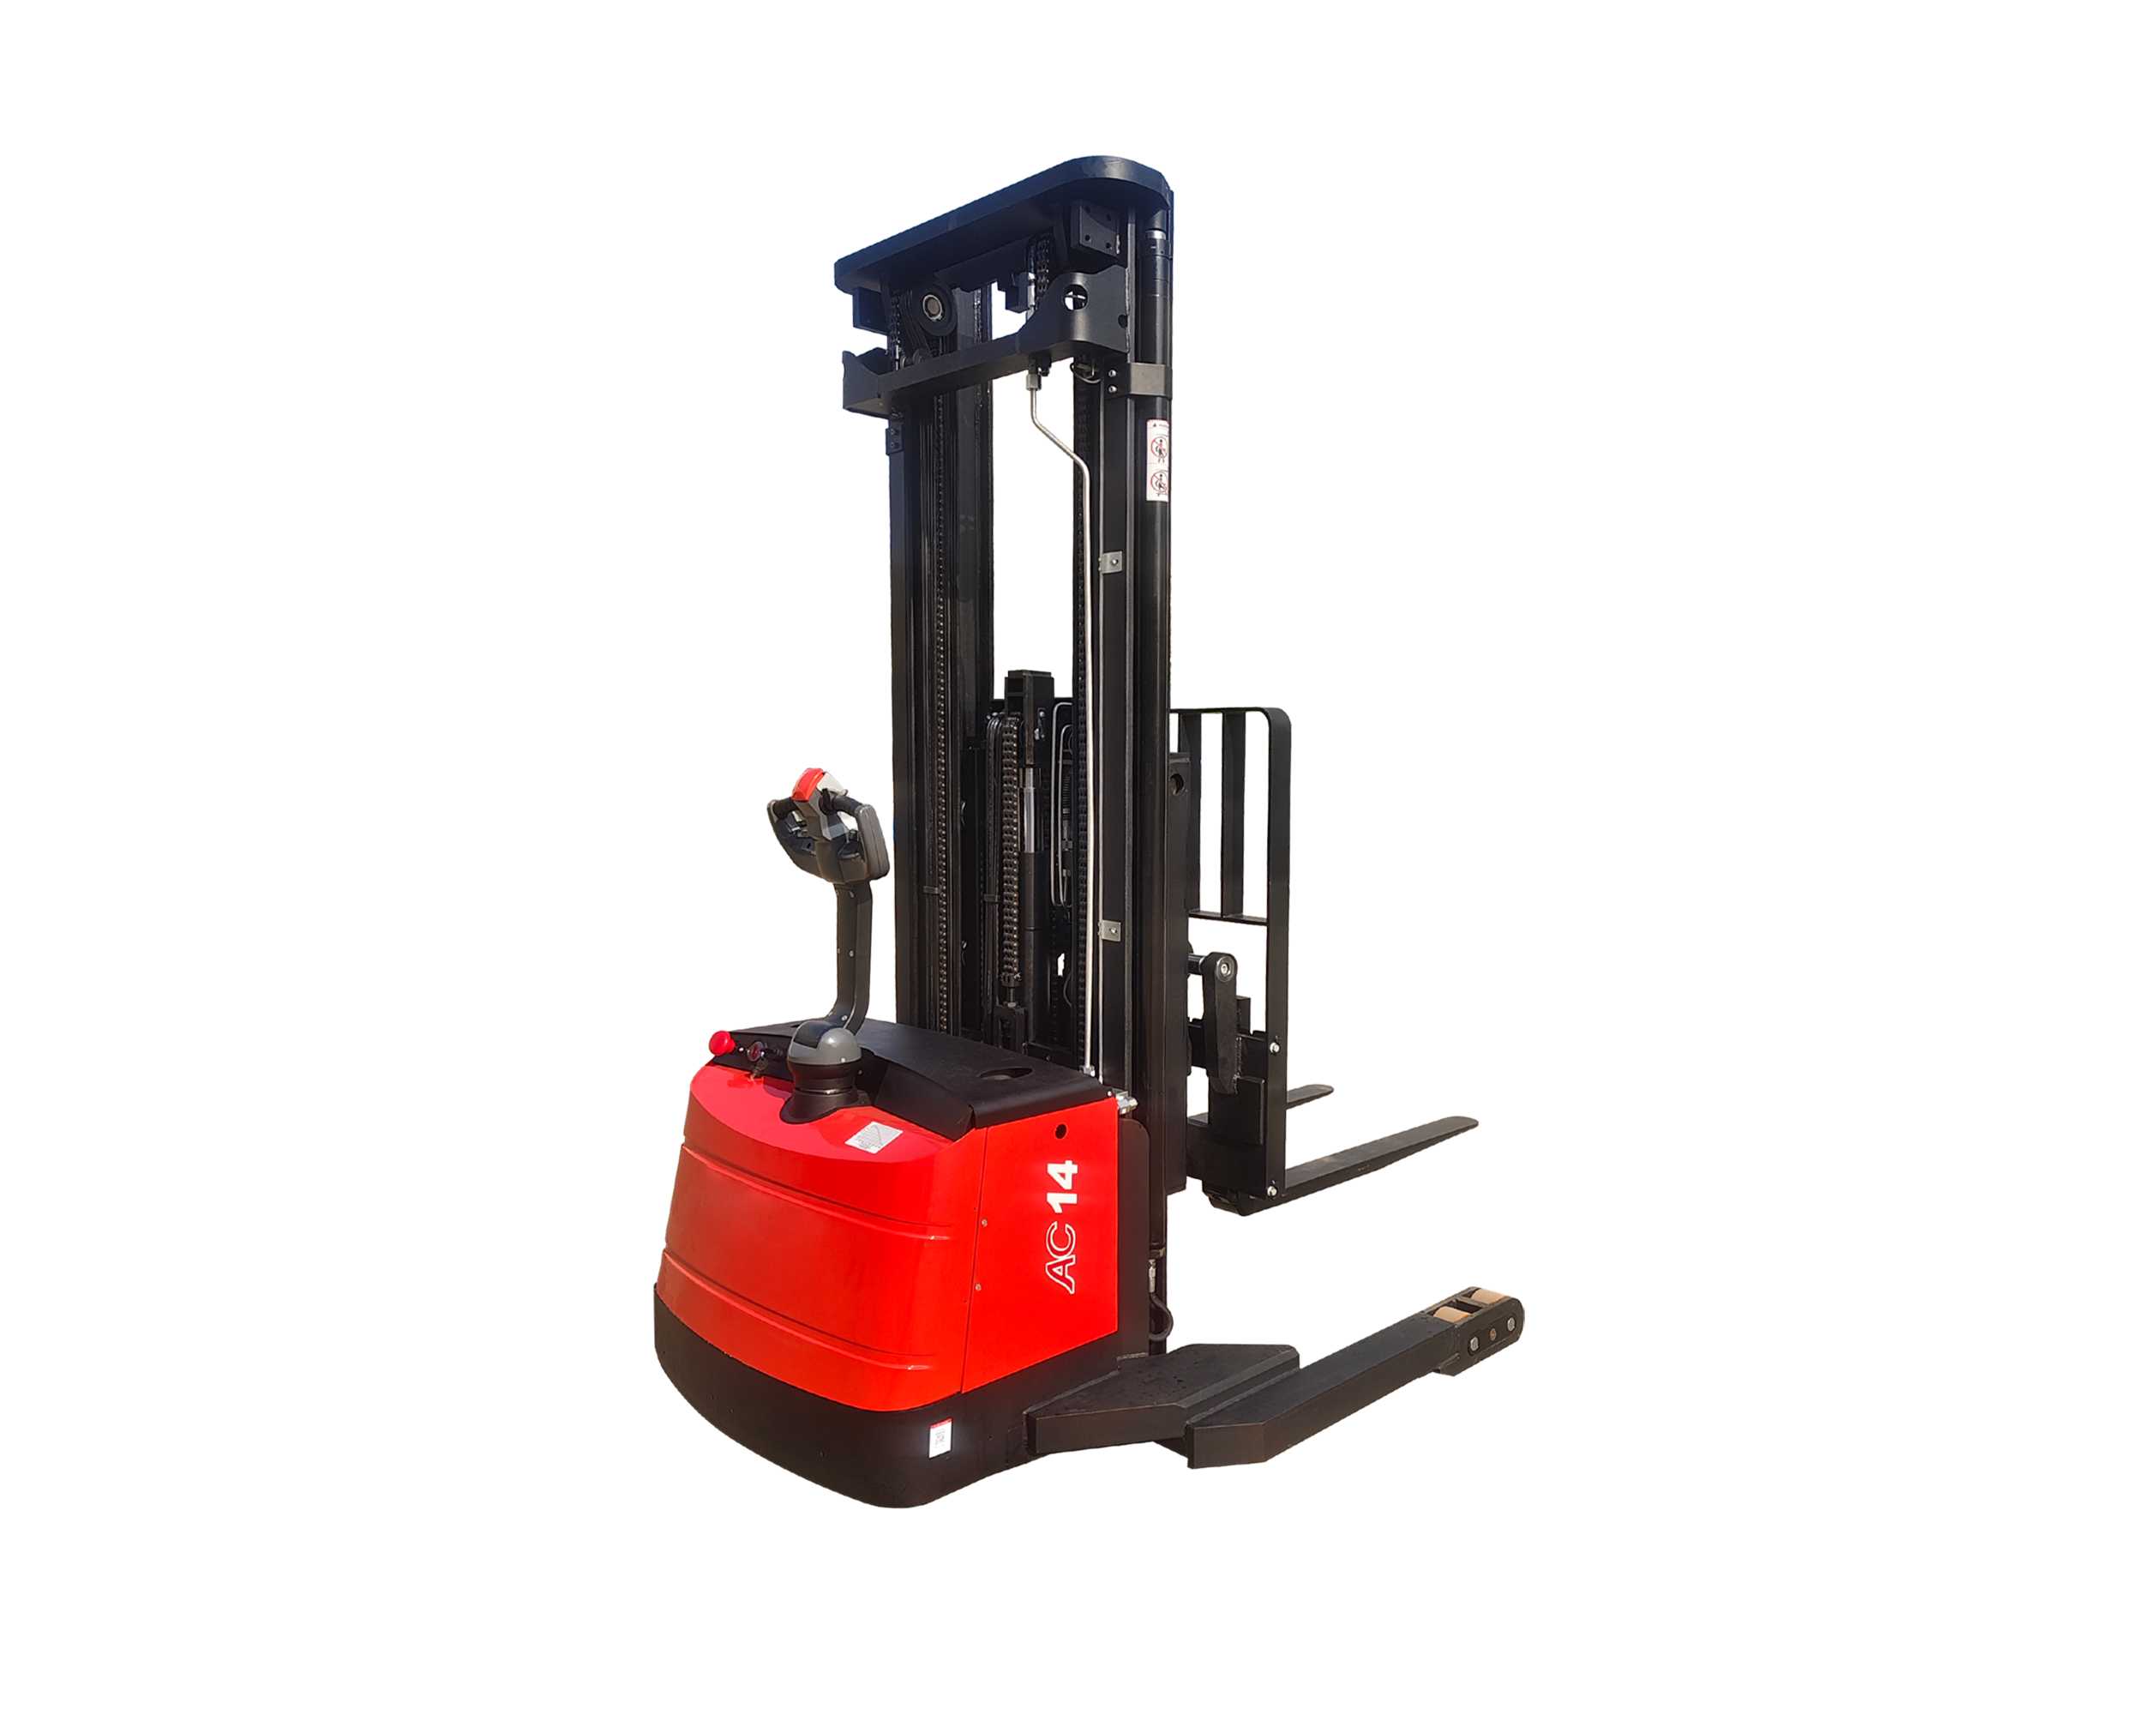
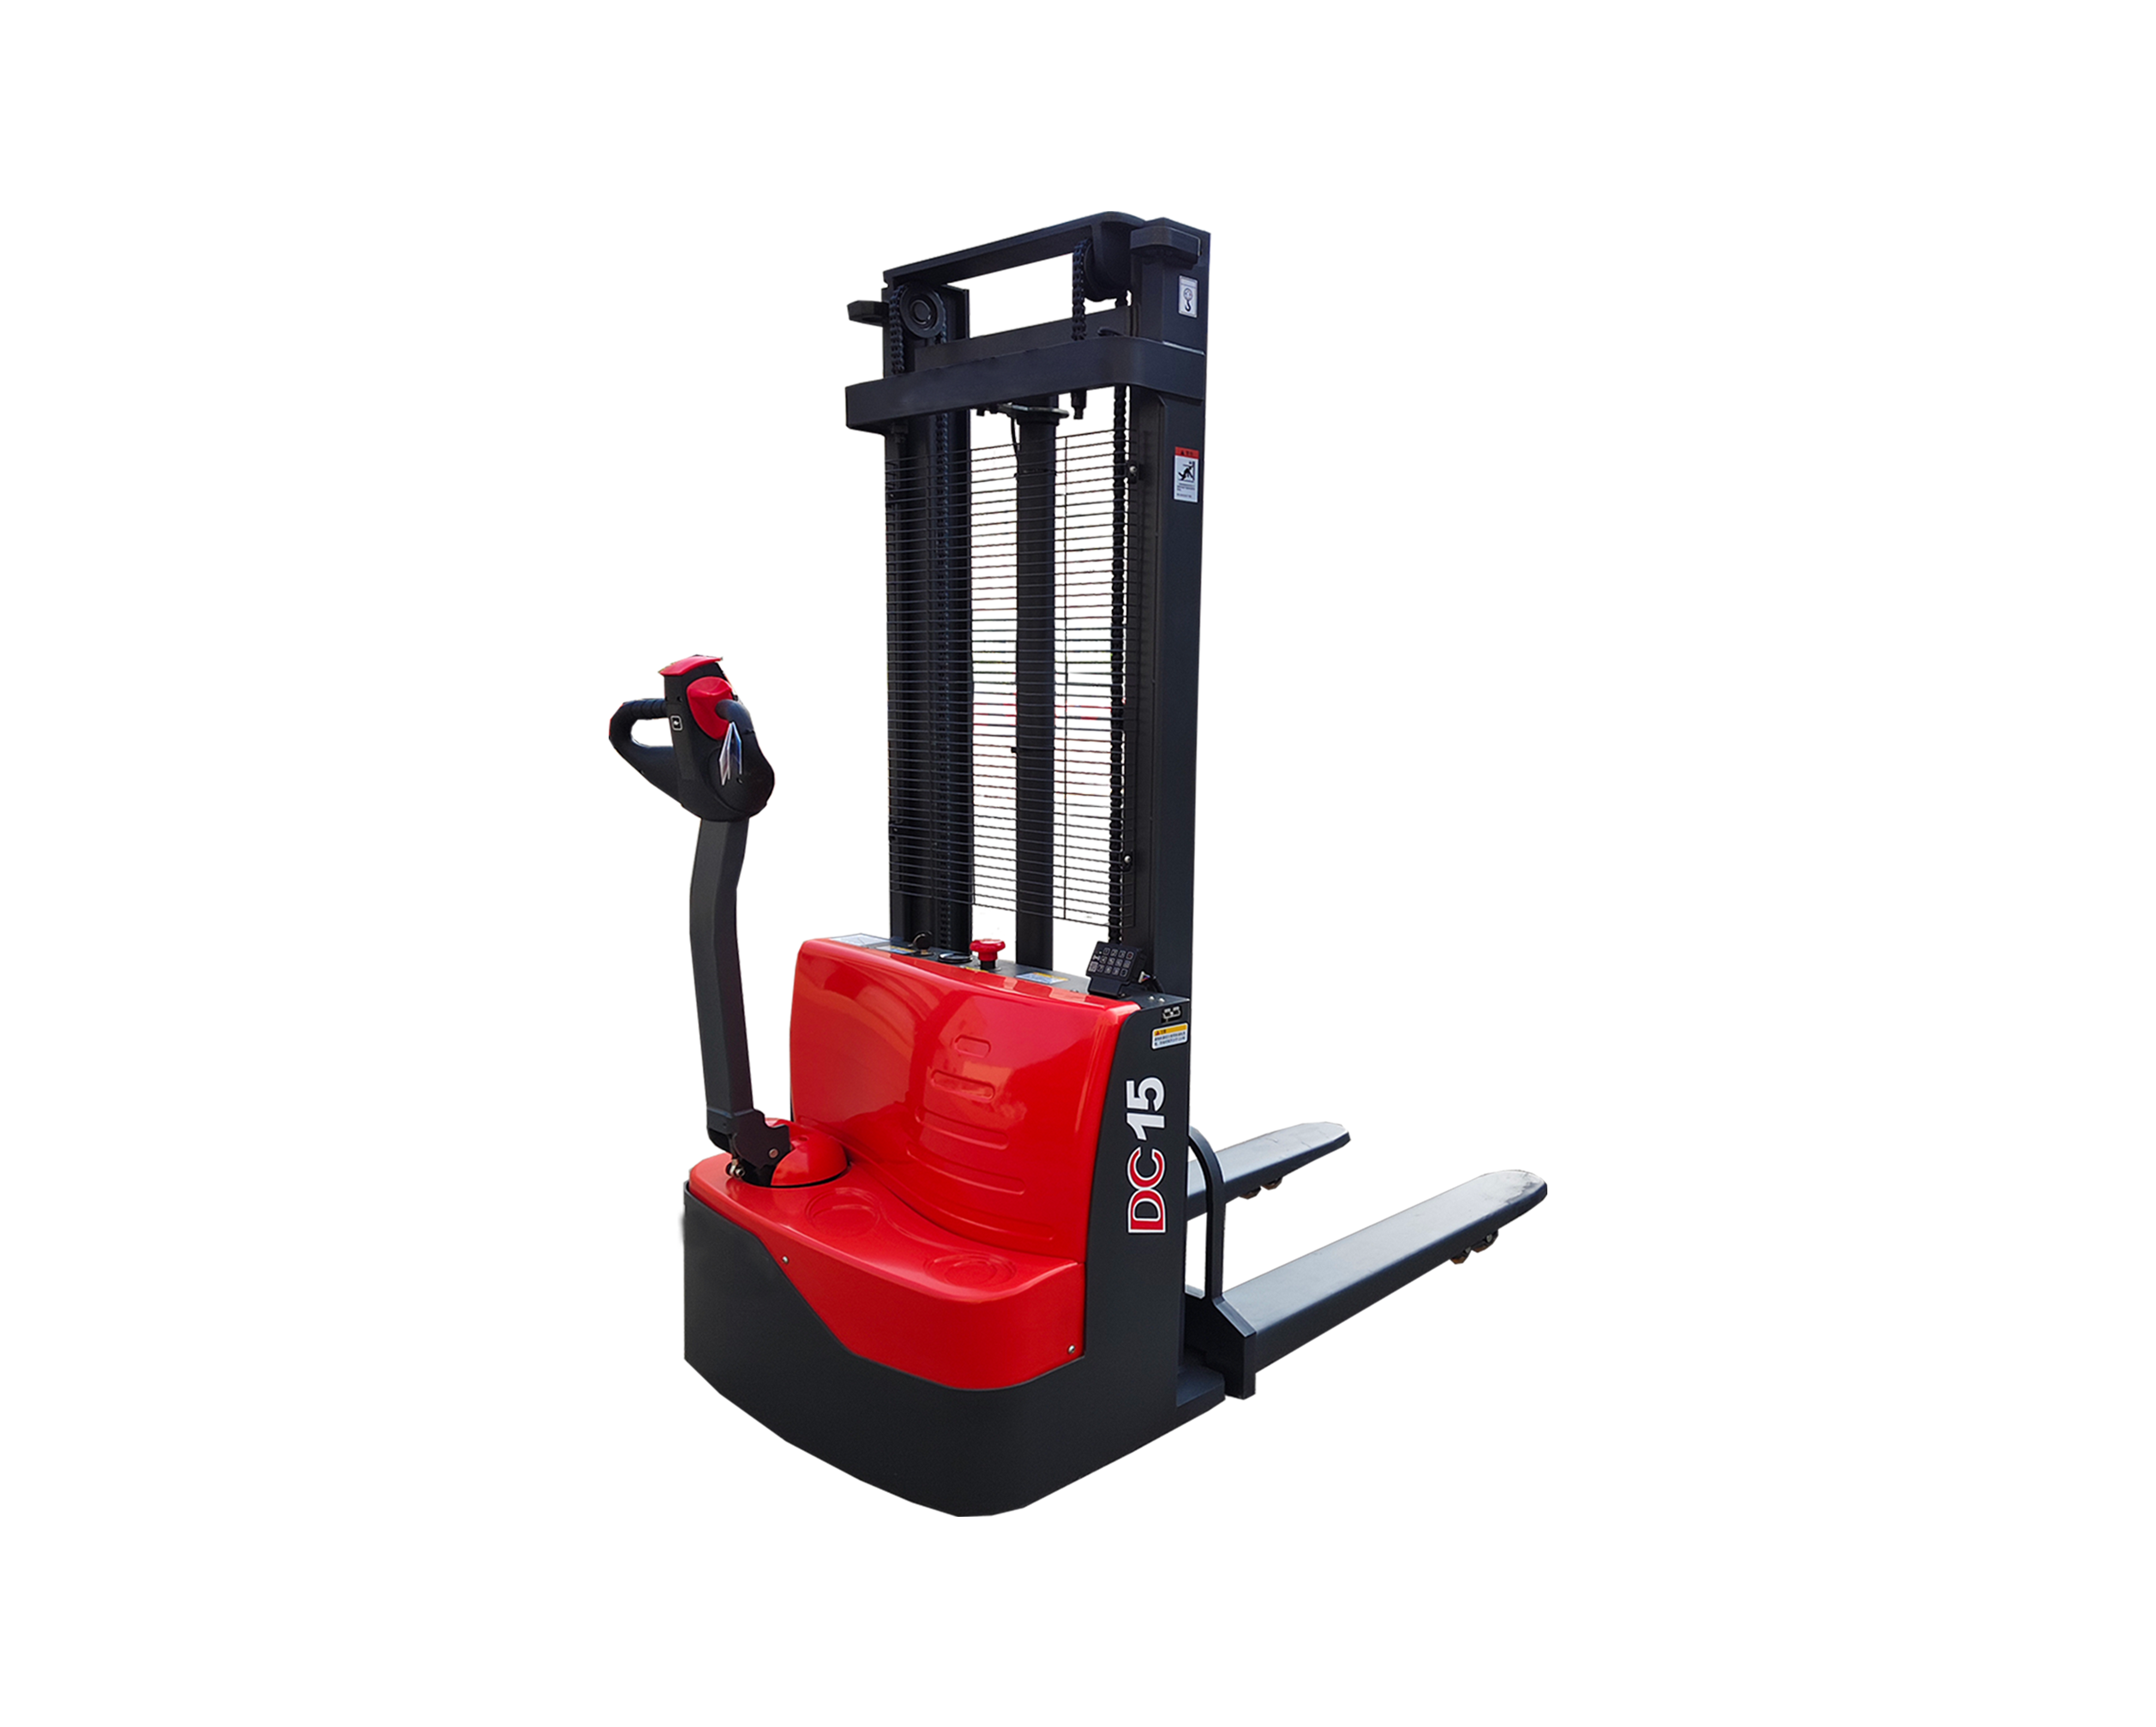
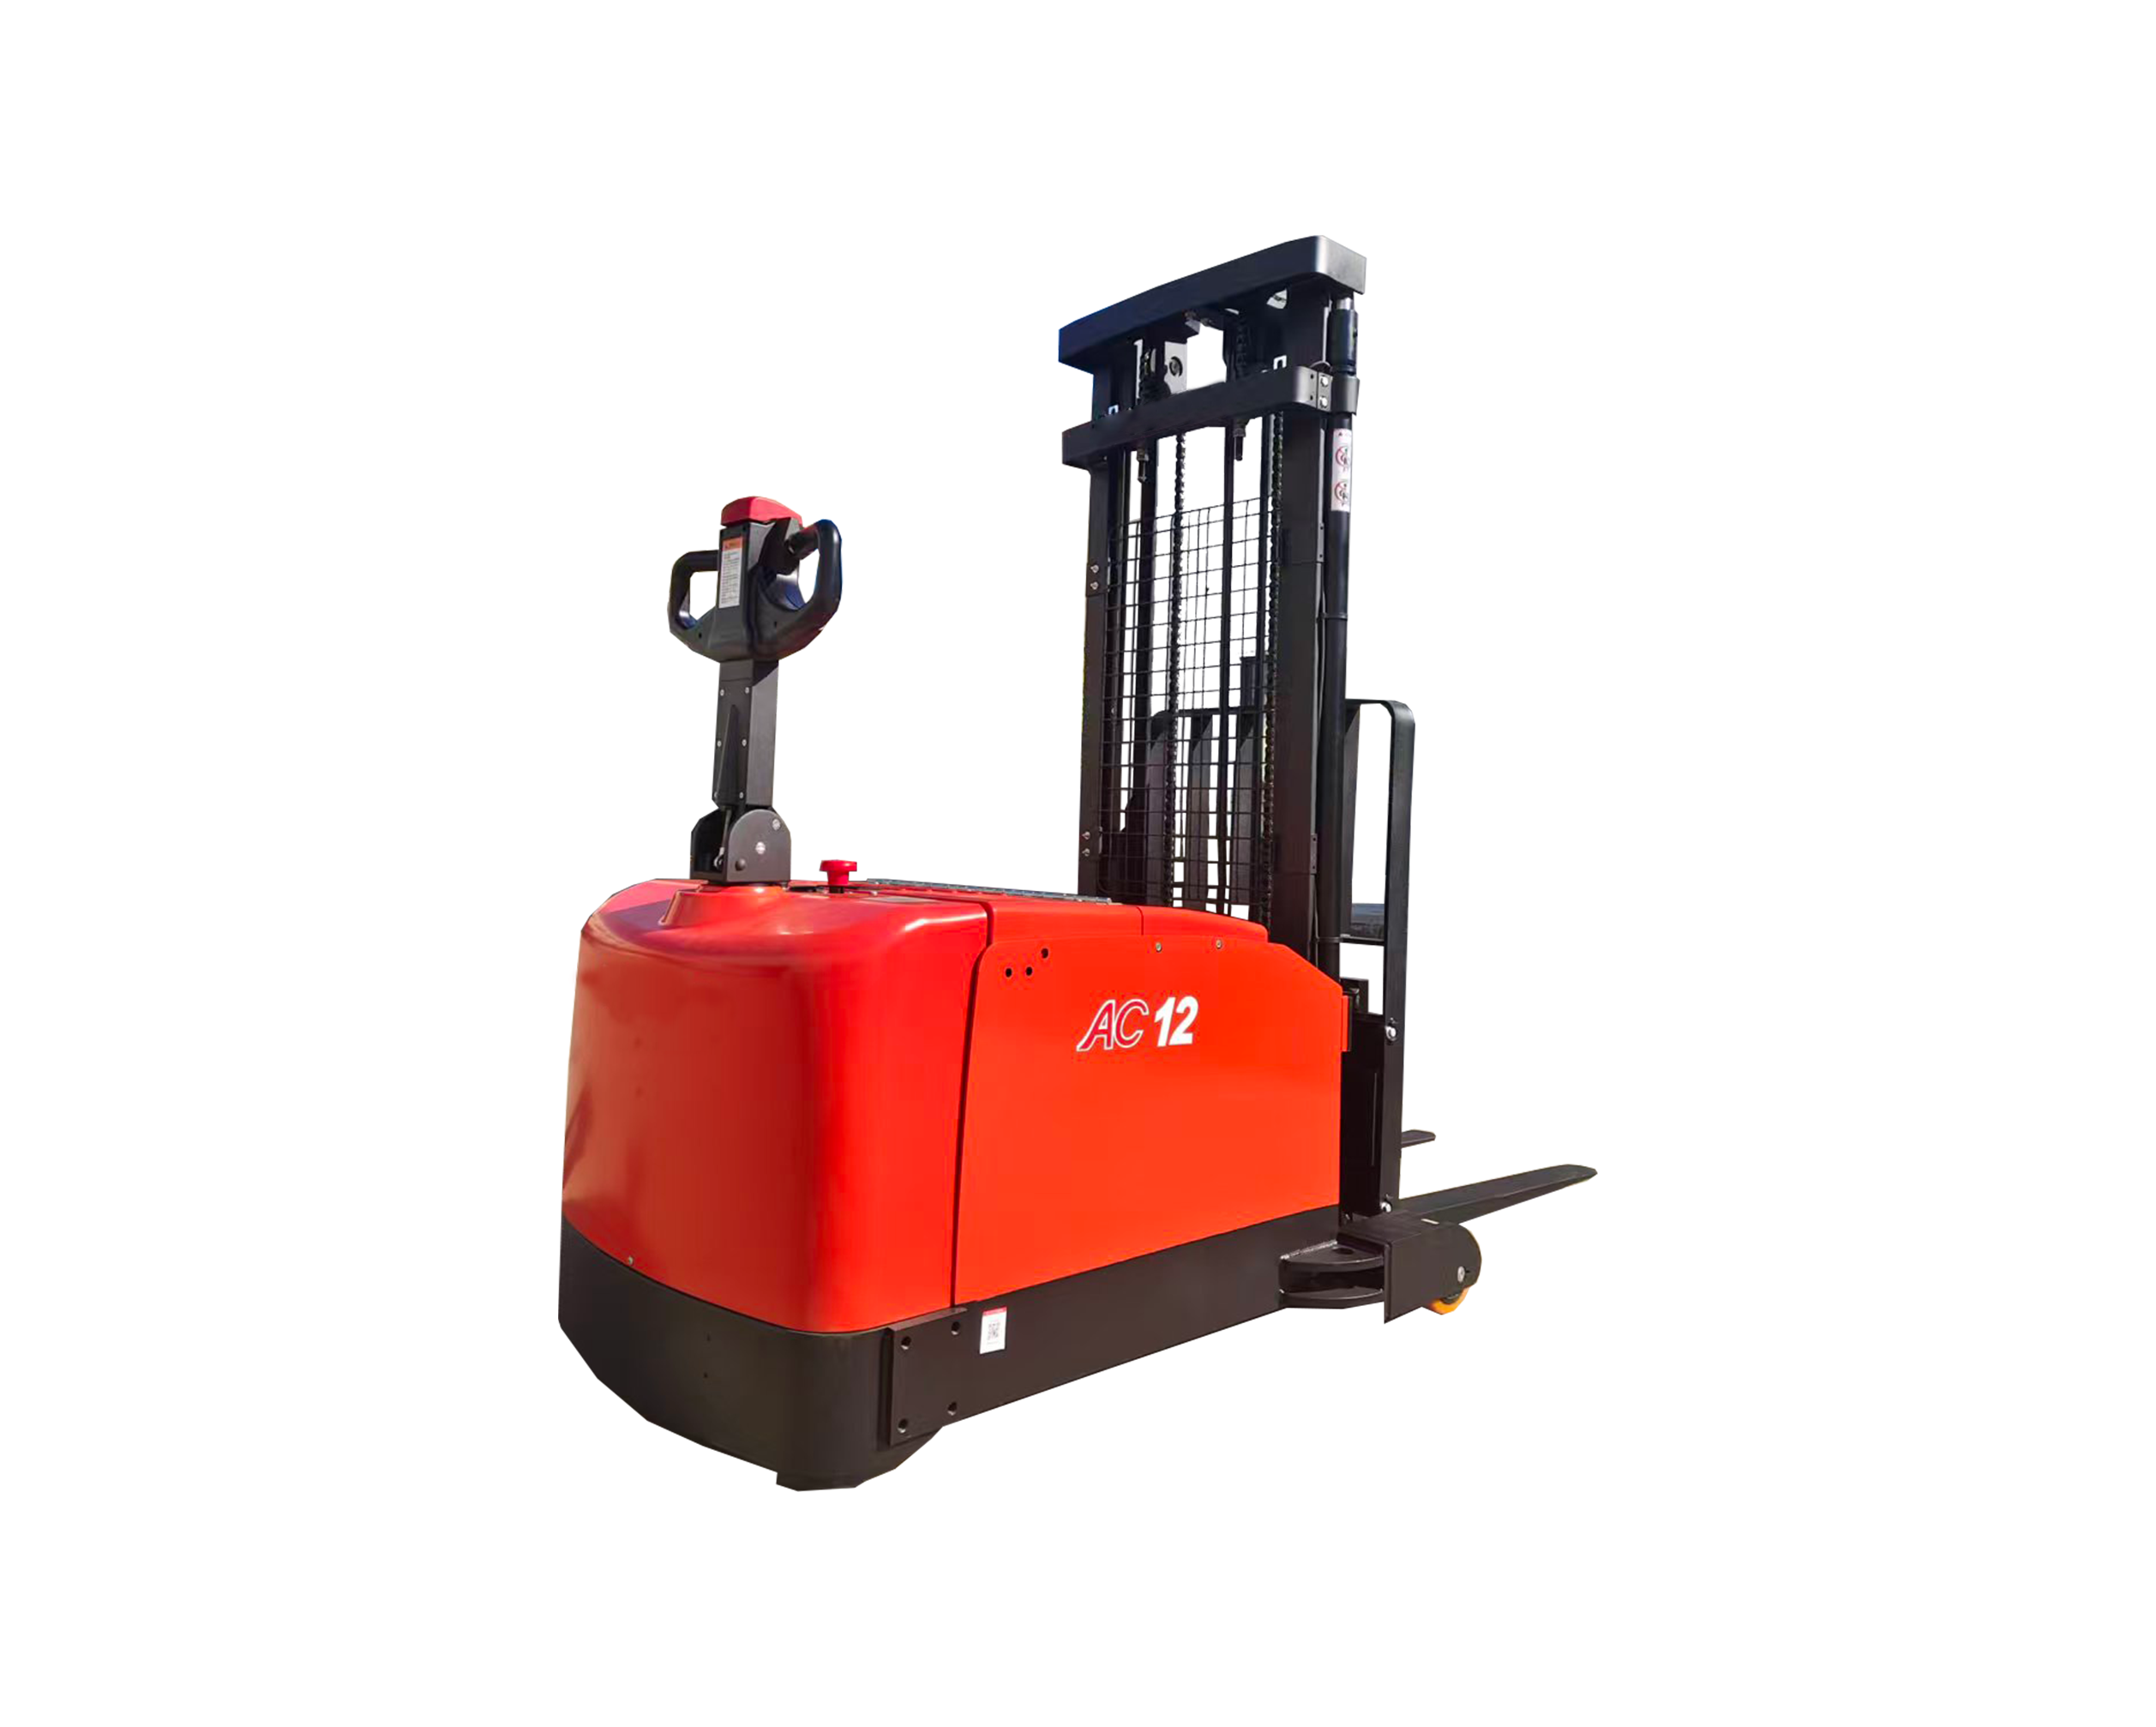
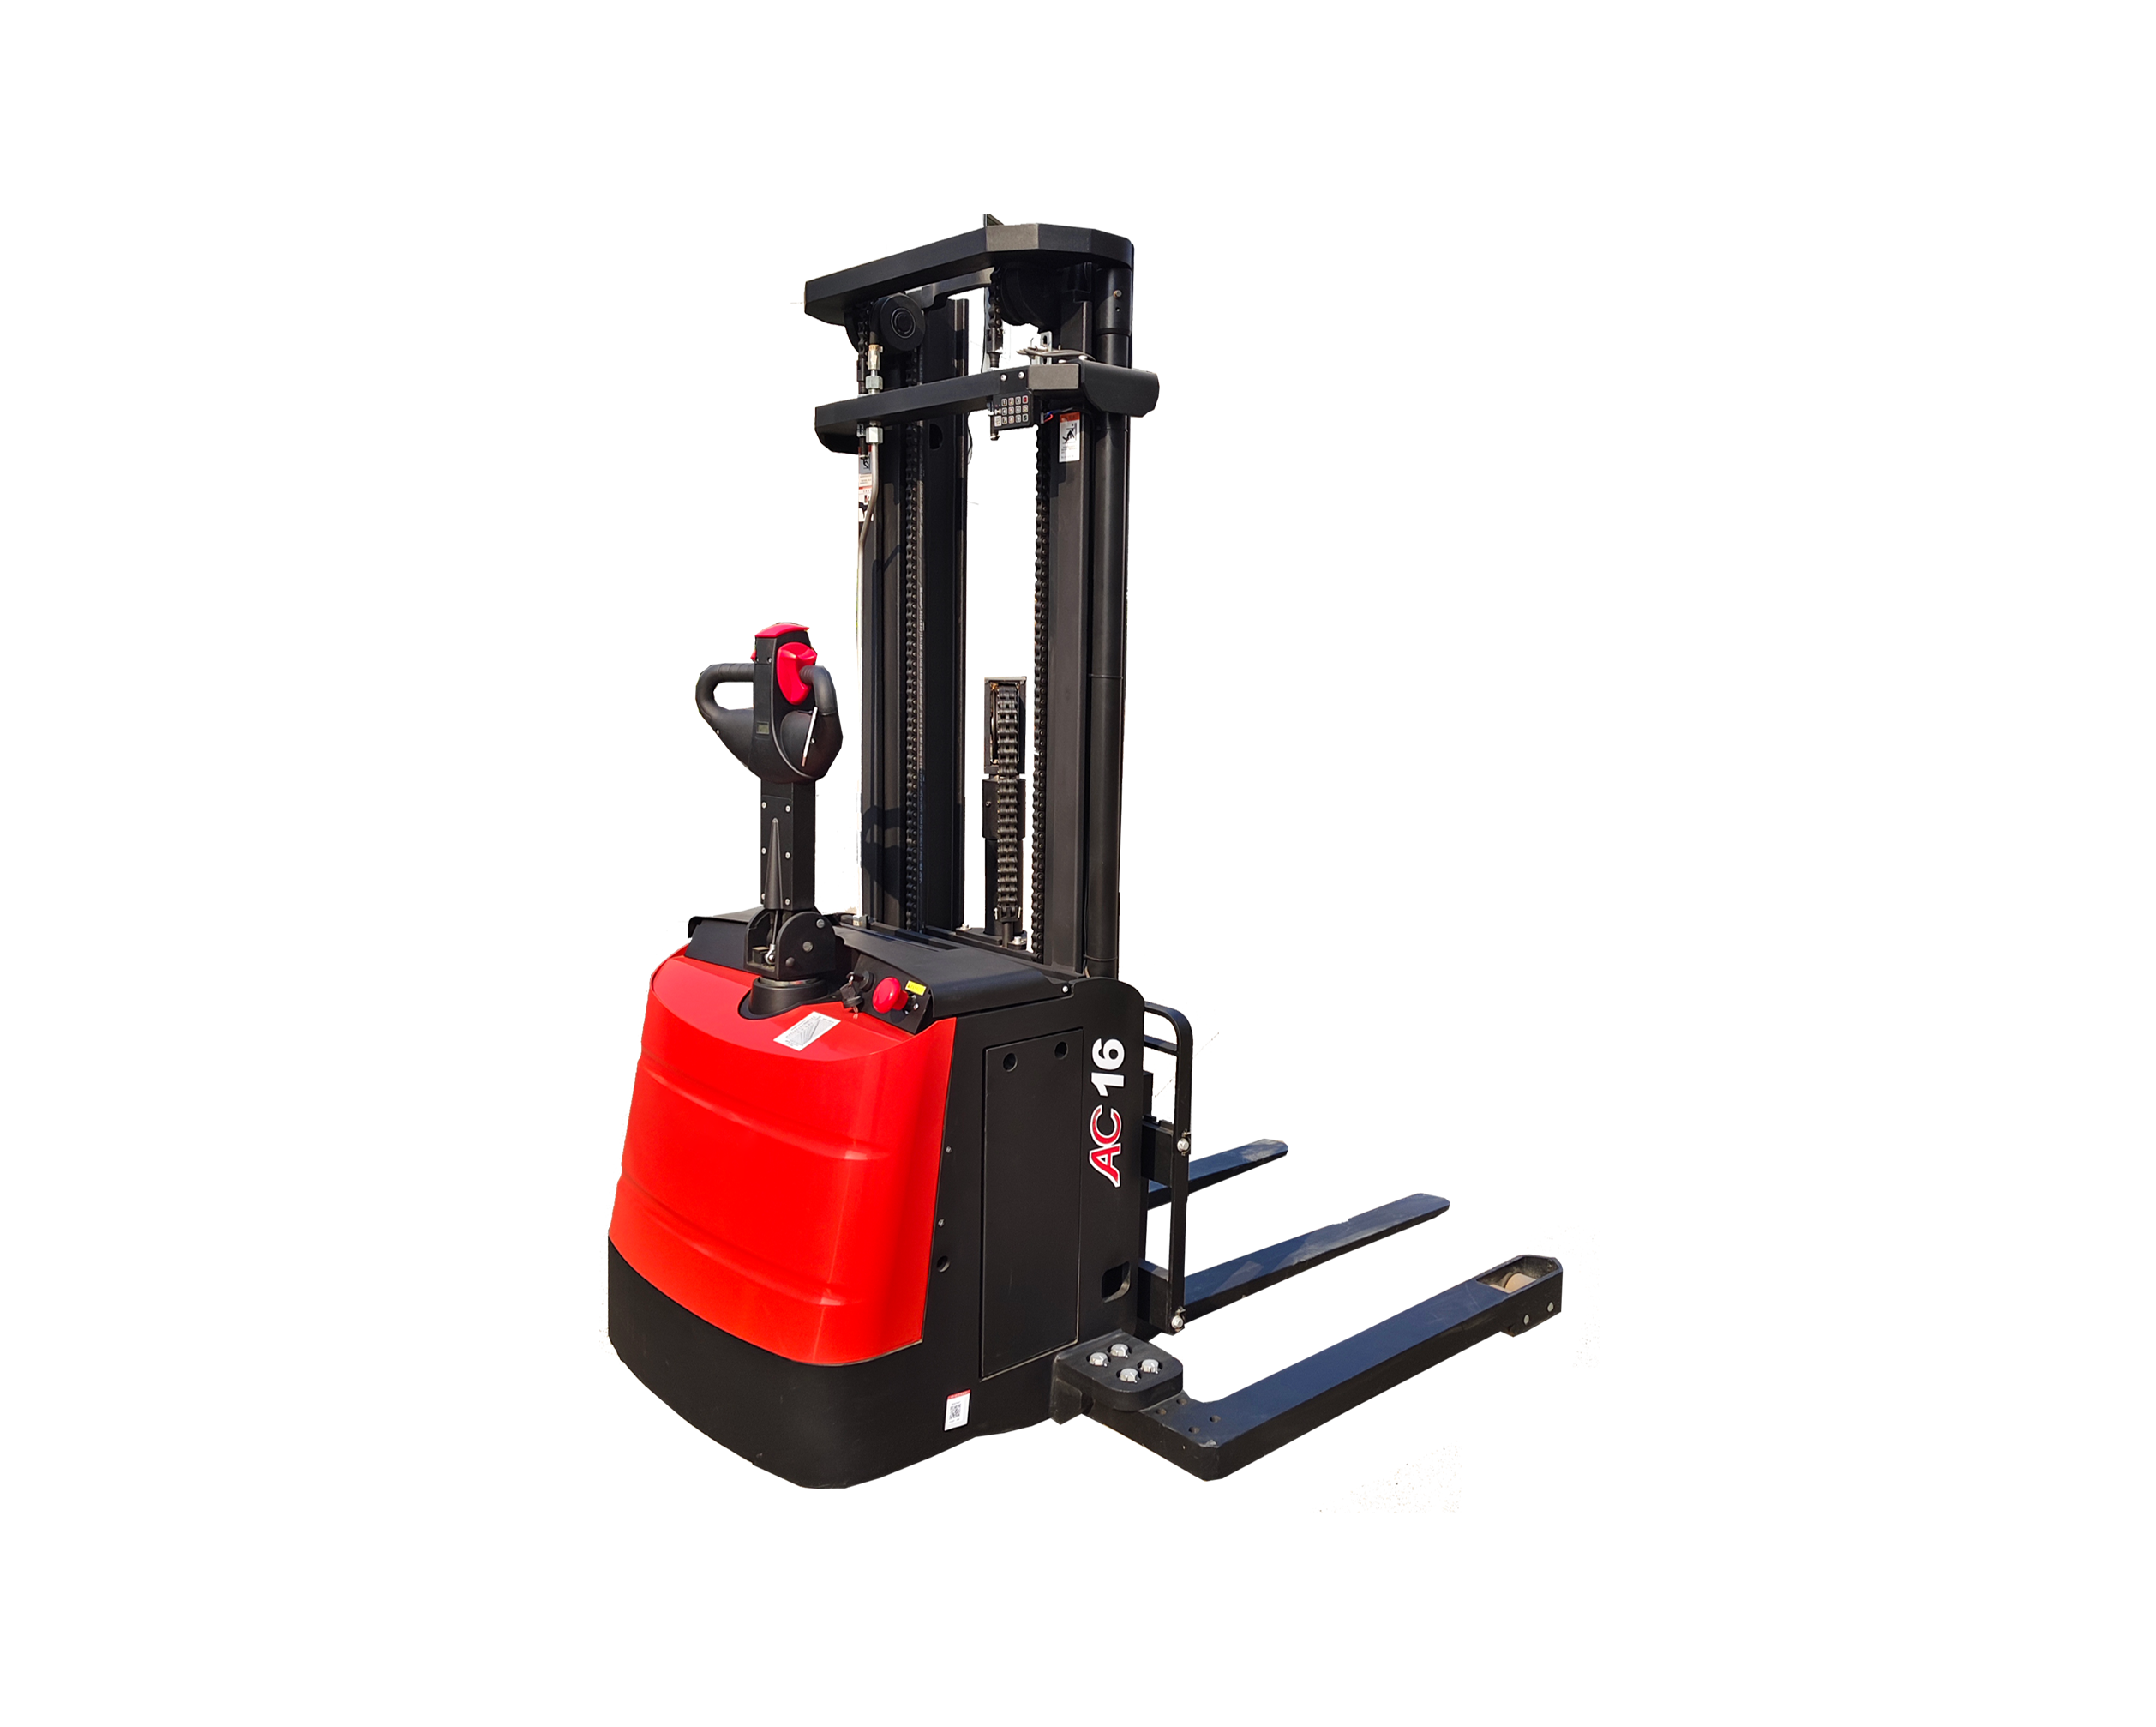
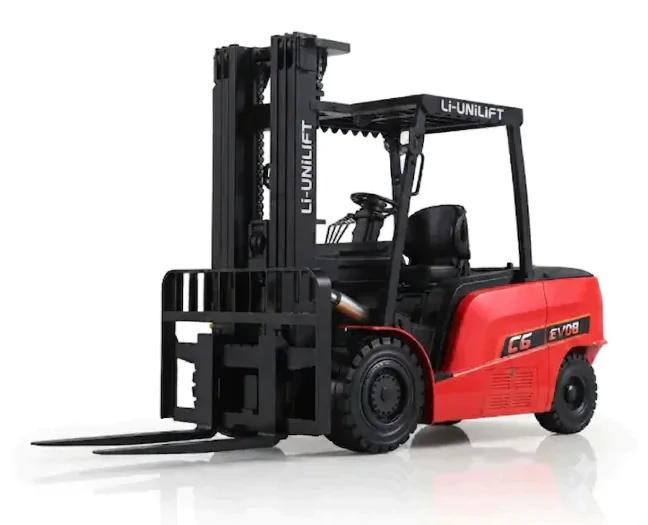
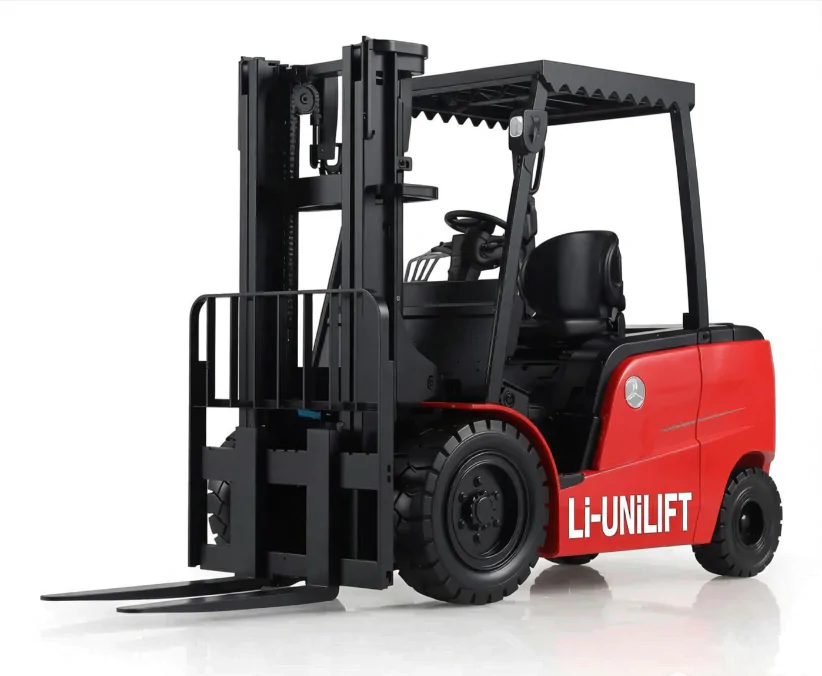
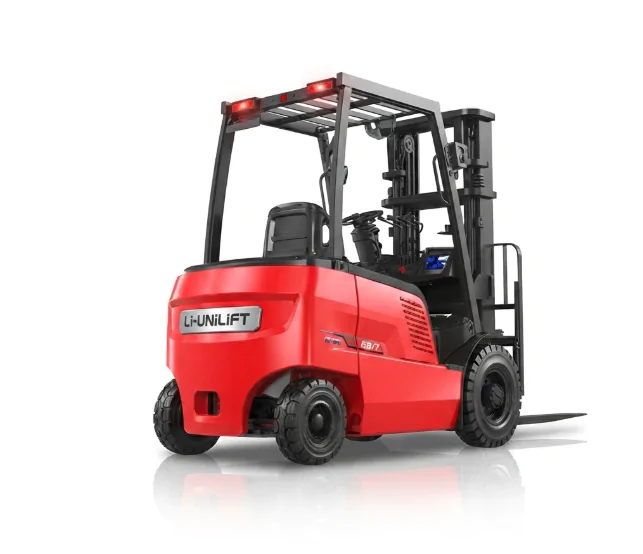
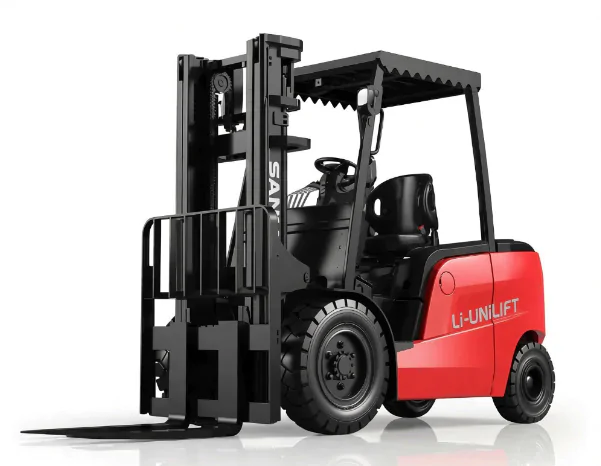
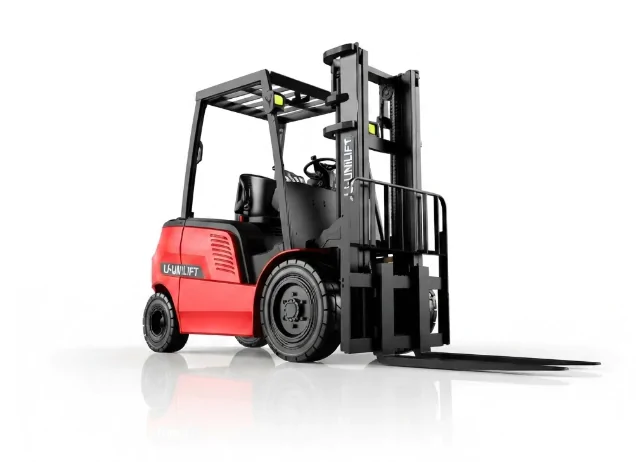
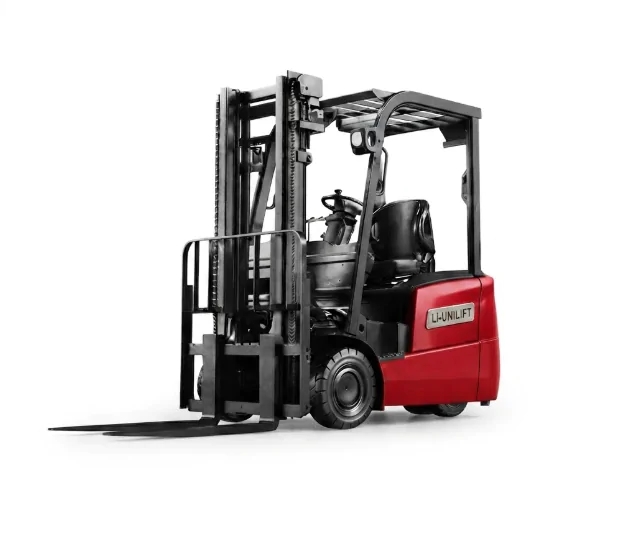
Electric stacker wheels support equipment movement, load handling, and steering. When a wheel becomes excessively worn, cracked, deformed, or difficult to rotate, it may need to be replaced. However, vibration, unusual noise, and unstable movement can also result from damaged bearings, axles, the drive system, or uneven flooring.
To replace electric stacker wheels safely, identify the correct replacement part, secure the equipment according to the manufacturer’s instructions, inspect related components, install the wheel using the specified procedure, and complete the required functional checks before returning the stacker to service.
The exact replacement procedure depends on the electric stacker model and wheel assembly. Always follow the equipment manufacturer’s service manual, particularly for lifting points, disassembly, fastener torque, and post-repair testing.
1. Understand the Different Types of Electric Stacker Wheels
Before starting an electric stacker wheel replacement, identify which wheel is damaged. Wheel assemblies vary by model, and similar-looking wheels may have different dimensions, bearings, hubs, or mounting arrangements.
Drive Wheels
Drive wheels transmit power from the drive unit to the floor, allowing the electric stacker to move. Depending on the design, they may be integrated with or connected to a dedicated drive assembly.

Inspect drive wheels for:
- Excessive or uneven tread wear.
- Cracks, chunks of missing material, or deformation.
- Reduced traction or slipping.
- Unusual noise or vibration during travel.
- Signs of damage around the hub or mounting area.
These symptoms do not always mean the wheel itself is the only problem. The drive motor, gearbox, bearings, or floor conditions may also need inspection.
Load Wheels
Load wheels support the equipment and contribute to stable pallet handling. Their arrangement and load distribution depend on the stacker’s design.
Check for flat spots, uneven wear, cracks, damaged tread, or visible deformation. If the stacker moves unevenly under load, inspect the wheel assemblies and related components rather than assuming that replacing one wheel will resolve the issue.
Caster or Steering Wheels
Some electric stackers use caster or steering wheel assemblies to support balance or assist directional control. Other designs use different steering arrangements.
Look for restricted rotation, excessive play, damaged bearings, and irregular wear. Confirm the actual wheel configuration in the model-specific parts diagram before ordering replacement components.
2. When Should Electric Stacker Wheels Be Replaced?
Regular inspections help identify wheel damage before it leads to additional equipment problems. Replace a wheel when it has reached the manufacturer’s wear limit or has damage that makes continued operation unsafe.
Visible Damage
Cracks, missing tread material, deformation, or damage to the hub can compromise wheel performance. Stop using the equipment if the damage could affect safe movement or load handling, and have the issue assessed by qualified maintenance personnel.
Excessive or Uneven Wear
A wheel that has worn below its specified diameter or wear limit may no longer perform as intended. Uneven wear can indicate an unsuitable wheel specification, damaged bearings, misalignment, floor problems, or operating conditions that need attention.
Use the manufacturer’s wear criteria rather than relying on visual judgment alone.
Vibration, Noise, or Unstable Movement
New vibration, grinding sounds, restricted steering, or irregular travel may indicate a wheel problem, but these symptoms can also originate elsewhere in the equipment.
Inspect the wheel, axle, bearings, mounting hardware, and relevant drive or steering components. If the cause is unclear, arrange a qualified technical inspection before replacing parts.
Repeated Wear in Demanding Applications
Electric stackers used frequently in warehouses, manufacturing plants, and distribution centers may experience substantial wheel wear. Actual service life depends on operating hours, load distribution, floor condition, wheel material, temperature, debris, and maintenance.
There is no single replacement interval that applies to every electric stacker. Base replacement on the manufacturer’s guidance and the equipment’s actual condition.
3. Tools and Preparation Before Wheel Replacement

The required tools depend on the wheel assembly and the manufacturer’s service procedure. A typical maintenance job may require:
- The correct replacement wheel or complete wheel assembly.
- Manufacturer-specified hand tools and sockets.
- Approved lifting equipment.
- Rated support stands or other specified mechanical supports.
- Appropriate personal protective equipment.
- Replacement fasteners or retaining components, if required by the service manual.
- A torque wrench when specified tightening torque is provided.
A wheel puller or other specialist tool may be required for some assemblies. Do not force a wheel off if it does not release as expected.
Prepare the Equipment Safely
Before beginning maintenance:
- Move the electric stacker to a designated maintenance area with a firm, level surface.
- Remove the load and lower the forks fully, following the manufacturer’s procedure.
- Switch off the equipment, remove the key or disable the operating control, and prevent unauthorized restart.
- Isolate the battery or other energy sources as directed by the service manual.
- Apply the required parking or movement-prevention measures.
- Identify the approved lifting points and support method before raising the equipment.
- Confirm that the work area is clear and that the replacement part is correct.
Safety warning: Never work beneath equipment supported only by a hydraulic jack or lifting device. Use the specified mechanical supports and follow the manufacturer’s procedure. If the approved lifting points or support method are unknown, stop and consult a qualified technician.
4. How to Replace Electric Stacker Wheels Step by Step
The following steps describe a general maintenance workflow. The actual disassembly sequence, lifting method, fastener torque, and required tests must come from the service manual for the specific electric stacker.
Step 1: Confirm the Correct Replacement Wheel
Before removing the existing wheel, verify the replacement part against the equipment model and parts documentation.
Check:
- Part number or approved replacement reference.
- Wheel diameter and width.
- Hub design, bore, and mounting arrangement.
- Bearing type and dimensions, where applicable.
- Wheel material and tread specification.
- Load rating and compatibility with the equipment.
- Any model-specific installation requirements.
Do not select a wheel based on appearance alone. A wheel that looks similar may have a different hub, bearing, load rating, or material compound.
Step 2: Park and Secure the Electric Stacker
Place the stacker in the approved maintenance area. Remove the load, lower the forks fully, switch off the equipment, and prevent accidental movement or restart.
Follow the manufacturer’s energy-isolation procedure. Some maintenance tasks may require additional controls for electrical, hydraulic, or stored mechanical energy.
If the equipment cannot be secured reliably, do not proceed.
Step 3: Lift and Support the Equipment
Use only the approved lifting points and lifting method specified for the model. Confirm that the lifting equipment and supports are suitable for the equipment’s weight and configuration.
Raise the stacker only as much as required for the repair. Install the specified mechanical supports and verify stability before approaching the wheel assembly.
Never place any part of your body beneath unsupported equipment, and never improvise a support point based on appearance.
Step 4: Remove the Damaged Wheel
Follow the model-specific disassembly procedure. Depending on the assembly, this may involve removing a protective cover, retaining clip, pin, fastener, axle component, or other securing part.
Keep removed components organized so they can be inspected and correctly reinstalled or replaced.
If the wheel is seized, the axle is difficult to remove, or the assembly does not match the service documentation, stop rather than applying excessive force. A qualified technician may need to use a specified extraction tool or inspect for additional damage.
Step 5: Inspect the Axle, Bearings, and Mounting Area
Before installing the replacement wheel, inspect the related components that could affect its fit and operation.
Axle and shaft: Look for visible wear, deformation, corrosion, or damage to retaining features.
Bearings: Check for rough rotation, abnormal noise, looseness, or visible damage where inspection is possible.
Mounting area: Look for contamination, damaged threads, worn seats, and other defects that could prevent correct installation.
Retaining hardware: Inspect fasteners, pins, clips, and other securing components according to the service manual. Replace damaged or designated single-use components as instructed.
Do not install a new wheel over a damaged axle or bearing assembly and assume the problem is resolved.
Step 6: Install the Replacement Wheel
Install the approved replacement wheel in the correct orientation and sequence. Refit the specified bearings, spacers, washers, pins, retaining components, and fasteners as required by the model.
Tighten fasteners to the manufacturer’s specified torque where applicable. Do not guess a torque value or substitute an unapproved fastener.
After installation, confirm that:
- The wheel is seated correctly.
- Retaining components are installed as specified.
- Fasteners meet the required tightening specification.
- The wheel has the intended clearance.
- There is no abnormal looseness or binding.
If the wheel does not fit correctly or cannot rotate as intended, stop and verify the part number, assembly sequence, and related components.
Step 7: Complete Post-Repair Checks
Keep the equipment supported until the installation checks required by the service procedure are complete. Remove supports only according to the manufacturer’s instructions.
Before returning the stacker to normal service, perform the checks specified in the service manual. These may include a visual installation check, wheel rotation or clearance checks where appropriate, and controlled functional testing in a designated safe area.
If authorized by the service procedure and performed by trained personnel, test travel and steering at low speed without a load first. Then complete any additional load-related testing only when explicitly required and permitted by the manufacturer.
Watch for abnormal noise, vibration, binding, pulling, or unexpected movement. Stop the test immediately if anything appears abnormal. Do not improvise a loaded test or return the equipment to service while a safety-related fault remains unresolved.
Step 8: Record the Maintenance Work
Update the equipment maintenance record with:
- Equipment model and identification number.
- Replacement date and operating hours, if available.
- Wheel part number and specification.
- Related components inspected or replaced.
- Any abnormal wear or damage found.
- Tests completed and the final maintenance status.
- Technician or maintenance team responsible for the work.
These records can help identify recurring wear patterns and support future spare-parts planning.
5. Electric Stacker Wheel Replacement Checklist
| Stage | What to Check | Why It Matters |
|---|---|---|
| Safety preparation | Equipment secured and energy isolated as required | Reduces the risk of unexpected movement or startup |
| Part identification | Correct part number, dimensions, material, and mounting design | Helps prevent fitment and compatibility problems |
| Lifting and support | Approved lifting points and specified mechanical supports | Helps prevent equipment instability |
| Wheel removal | Correct disassembly sequence and organized components | Reduces the risk of damaging parts |
| Component inspection | Axle, bearings, mounting area, and retaining hardware | Helps identify the cause of premature wear |
| Installation | Correct orientation, assembly, clearance, and specified torque | Supports reliable wheel operation |
| Functional checks | Required post-repair checks completed | Helps confirm that the repair meets the service procedure |
| Maintenance record | Parts, findings, and test results documented | Supports maintenance planning |
6. Common Problems During Electric Stacker Wheel Replacement
Wrong Wheel Size or Specification
Problem: The replacement wheel does not fit correctly, has the wrong clearance, or causes abnormal operation.
Possible cause: The part was selected by appearance or approximate dimensions rather than by the approved part number and specification.
What to do: Stop installation and verify the model, part number, dimensions, hub, bearings, and material. Do not modify the wheel or mounting components to force a fit.
Loose Installation or Incorrect Assembly
Problem: The wheel has excessive play, makes noise, or does not rotate as expected after replacement.
Possible cause: Missing retaining components, incorrect assembly, damaged mounting parts, or fasteners tightened outside the specified procedure.
What to do: Take the equipment out of service and have the installation checked against the manufacturer’s instructions. Confirm the required torque rather than guessing.
Ignoring Bearing or Axle Damage
Problem: The new wheel continues to vibrate, rotate poorly, or wear unevenly.
Possible cause: The original fault may involve a bearing, axle, mounting surface, or related drive or steering component rather than the wheel alone.
What to do: Inspect the complete wheel assembly and identify the underlying cause before returning the stacker to service.
Replacing a Wheel Without Checking the Others
Problem: The equipment continues to move unevenly after one damaged wheel is replaced.
Possible cause: Other wheels may also be worn, or the problem may involve alignment, load distribution, or the floor.
What to do: Inspect all relevant wheel assemblies and follow the manufacturer’s replacement guidance. Whether wheels should be replaced in pairs or as a complete set depends on the equipment design and service instructions.
7. How to Choose the Right Electric Stacker Wheels
The correct replacement wheel must match the equipment specification and the operating environment. Material alone is not enough to determine suitability.
Match Wheel Material to the Application
Polyurethane, rubber, and nylon are used in different industrial wheel applications, but their suitability depends on the wheel design, compound, hardness, load rating, and stacker configuration.
| Selection Factor | What to Evaluate |
|---|---|
| Floor surface | Smooth concrete, coated floors, joints, debris, ramps, and uneven areas |
| Load and duty cycle | Equipment rating, typical loads, operating hours, and travel frequency |
| Noise and vibration | Noise limits and the need to reduce transmitted vibration |
| Floor protection | Risk of marking, scratching, or damaging the surface |
| Environment | Temperature, moisture, oils, chemicals, and debris |
| Wheel assembly | Diameter, width, hub, bearings, mounting design, and approved part number |
| Maintenance requirements | Inspection needs, spare-part availability, and replacement procedure |
Polyurethane: Often considered for indoor material-handling applications where wear resistance and floor protection are important. Actual performance depends on the specific compound, hardness, wheel construction, and floor.
Rubber: Can provide cushioning and help reduce noise or vibration in suitable applications. Load capacity, floor marking, chemical exposure, and compatibility must be checked for the particular wheel.
Nylon: May suit applications that prioritize hardness, load support, or resistance to certain chemicals. Its suitability depends on the specific grade, floor surface, noise requirements, and wheel assembly.
These materials are not interchangeable by default. Use the manufacturer’s approved specification for the electric stacker, then evaluate the application requirements.
Confirm Compatibility Before Ordering
Before purchasing replacement wheels, provide the supplier or manufacturer with the stacker model, serial or identification number, wheel position, existing part number, and photographs of the assembly if available.
If the original part number is missing, have the wheel dimensions and mounting arrangement verified by a qualified person. Measurements alone may not establish compatibility.
8. How to Extend Electric Stacker Wheel Service Life
Wheel life depends on equipment design, operating conditions, correct part selection, and maintenance. These practices can help reduce avoidable wear.
Inspect Wheels Regularly
Check for cracks, flat spots, uneven wear, missing material, restricted rotation, and abnormal noise. Follow the inspection frequency specified by the manufacturer and increase attention when operating conditions are demanding.
Keep the Travel Path Suitable
Remove loose debris, stretch wrap, and other material that could become trapped around wheels or axles. Report damaged floor joints, deep cracks, and other surface defects that may accelerate wheel wear or affect equipment stability.
Operate Within Equipment Limits
Do not exceed the stacker’s rated capacity. Avoid abrupt turns, sudden acceleration, or harsh braking when operating conditions and equipment procedures call for smoother travel.
Match Wheels to the Operating Environment
Using an approved wheel specification suited to the floor, load, and environment can help prevent premature wear. If wheels repeatedly fail early, investigate the cause instead of simply increasing the replacement frequency.
Track Wear and Repairs
Record replacement dates, operating hours, wheel part numbers, and observed damage. Recurring failures may indicate a need to review floor conditions, operating practices, wheel selection, or related components.
9. Why Regular Electric Stacker Wheel Maintenance Matters
Regular wheel inspection and timely repairs can help identify defects before they develop into more serious operating problems.
Safer equipment movement: Correctly specified and maintained wheel assemblies support stable travel and predictable handling when the equipment is operated within its limits.
More predictable maintenance costs: Finding premature wear or related component damage early can help avoid unnecessary repeat repairs and unplanned downtime.
Better equipment availability: A structured inspection and spare-parts process can help maintenance teams plan repairs and return equipment to service according to the manufacturer’s requirements.
Wheel maintenance is only one part of electric stacker upkeep. Follow the complete maintenance schedule for the battery, drive system, lifting system, controls, brakes, and other model-specific components.
Conclusion
Replacing electric stacker wheels starts with identifying the correct part and confirming why the original wheel failed. The equipment must then be secured and supported according to the manufacturer’s procedure, the wheel assembly inspected, and the replacement installed and checked using the specified requirements.
If you need replacement wheels or are unsure which specification fits your electric stacker, consult the equipment documentation or contact the manufacturer with the model and wheel details. For LI-UNILIFT equipment inquiries, you can contact the team through the official website to discuss the application and confirm the appropriate technical information.
Frequently Asked Questions
How often should electric stacker wheels be replaced?
There is no universal replacement interval. Wheel condition, operating hours, load, floor quality, environment, and the manufacturer’s wear limits determine when replacement is needed.
What are the signs that electric stacker wheels need replacement?
Common warning signs include cracks, missing material, excessive or uneven wear, deformation, restricted rotation, and abnormal noise or vibration. These symptoms may also indicate damage to bearings, axles, or other components.
Can operators replace electric stacker wheels themselves?
Only personnel who are trained, authorized, and equipped for the specific maintenance procedure should perform the work. The manufacturer’s service manual determines the required tools, support method, and repair steps. Complex or safety-critical repairs should be referred to qualified technicians.
Which wheel material is best for an electric stacker?
There is no single best material for every application. Selection depends on the approved wheel specification, load, floor surface, operating environment, noise requirements, and wheel construction. Confirm compatibility with the equipment manufacturer before changing materials.
Why do electric stacker wheels wear out quickly?
Possible causes include unsuitable wheel specifications, heavy or frequent use, damaged flooring, debris, incorrect load handling, bearing or axle problems, and environmental exposure. Investigate the cause of repeated wear before ordering replacement parts.
Can I replace an electric stacker wheel with one that has the same dimensions?
Not necessarily. Matching diameter and width does not guarantee compatibility. The hub, bearing, mounting method, material, load rating, and manufacturer approval must also be checked.
What information should I provide when ordering replacement wheels?
Provide the stacker model and identification number, wheel position, existing part number if available, relevant dimensions, photographs of the assembly, and operating conditions. The supplier or manufacturer should confirm the correct replacement specification.
Follow UNILIFT MHE for More Material Handling Insights
Stay connected with UNILIFT MHE for the latest updates on electric pallet trucks, electric stackers, electric tuggers, warehouse equipment, material handling solutions, and industry insights. Follow our social media channels to discover new products, application scenarios, company updates, and practical information for modern warehouse and logistics operations.
Explore reliable electric pallet trucks, electric stackers, and material handling solutions at Unilift MHE.
If you would like to contact us, please click here.
If you would like to learn more about our news, please click here.
Facebook: Follow UNILIFT MHE on Facebook
TikTok: Follow UNILIFT MHE on TikTok
Instagram: Follow UNILIFT MHE on Instagram
X: Follow UNILIFT MHE on X
Pinterest: Explore UNILIFT MHE on Pinterest
LinkedIn: Connect with UNILIFT MHE on LinkedIn